Warning From The Heat, The New A7 Seats Are Ventilated
The owner of the car contacted me that night and hurriedly asked me about the ventilation of the A7 seat, and then handed the car to us the next morning, complained to me, and said that he was on a long business trip, but he did not expect summer. I was approaching quietly, and after driving for six hours, the car stopped several times in the service area. I told me that my butt was in the sauna and I was sweating all the time. I said that is not a trivial matter, and direct ventilation. Old rules, let's take a look at today's protagonists first

Today's male protagonist is a high-power version of 20 AUDI A7 2.0 that combines young sports

The old process, check the account hahaha, still a "minor"

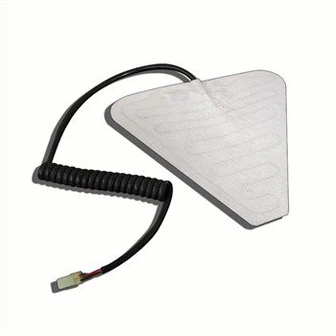
This little black is today's male number two

The wind is strong, it will blow and suck

Put the bracket position first, then punch holes (it is more convenient to have a reference)

Then I have to remove the seat and take off the leather of the seat. First of all, it is explained that it is because the interior has been rectified, so others have started it first. Because the original car belt is heated, it needs to be torn off and heated. It must be uniformly and uniformly torn off to prevent accidents haha

Then make a hole with a hand drill to reserve the fan position, professionally matched drill bit and the skillful technique of the little master, zero error

The reserved fan position needs to be slowly cut with a wallpaper knife due to obstacles.

Next is the fusion! ! !

Then spray glue and stick the ventilation sponge. This glue will make the two never separate ~ and then restore the electric heating.

Be sure to press firmly, you can press for one to three minutes

Don't forget to insert the plug, otherwise you will have to "do it again"

The old rules of punching and tearing with a knife to trim the edges

Then the seat cushion also needs to be punched, let me show you the glue.

The same part of the fan mouth also needs to be sprayed with glue. Our master is not a painter and can't be too harsh, haha, but it will be evenly filled. There will be no fall.

Conversely, the frame for the fan below is also glued.

The ventilation mesh also needs to be glued and placed into the cut grooves.

Then restore the original car seat heating.

Don't forget the fan plug under the seat cushion

The final stage is that the wiring (original car line position) should be tied well, and it needs to be connected to the ground and the signal.

The process for the left and right seats is the same. The master here is quicker to read this first, and the last is the test, in case it is found that it is not easy to use after all the restorations.